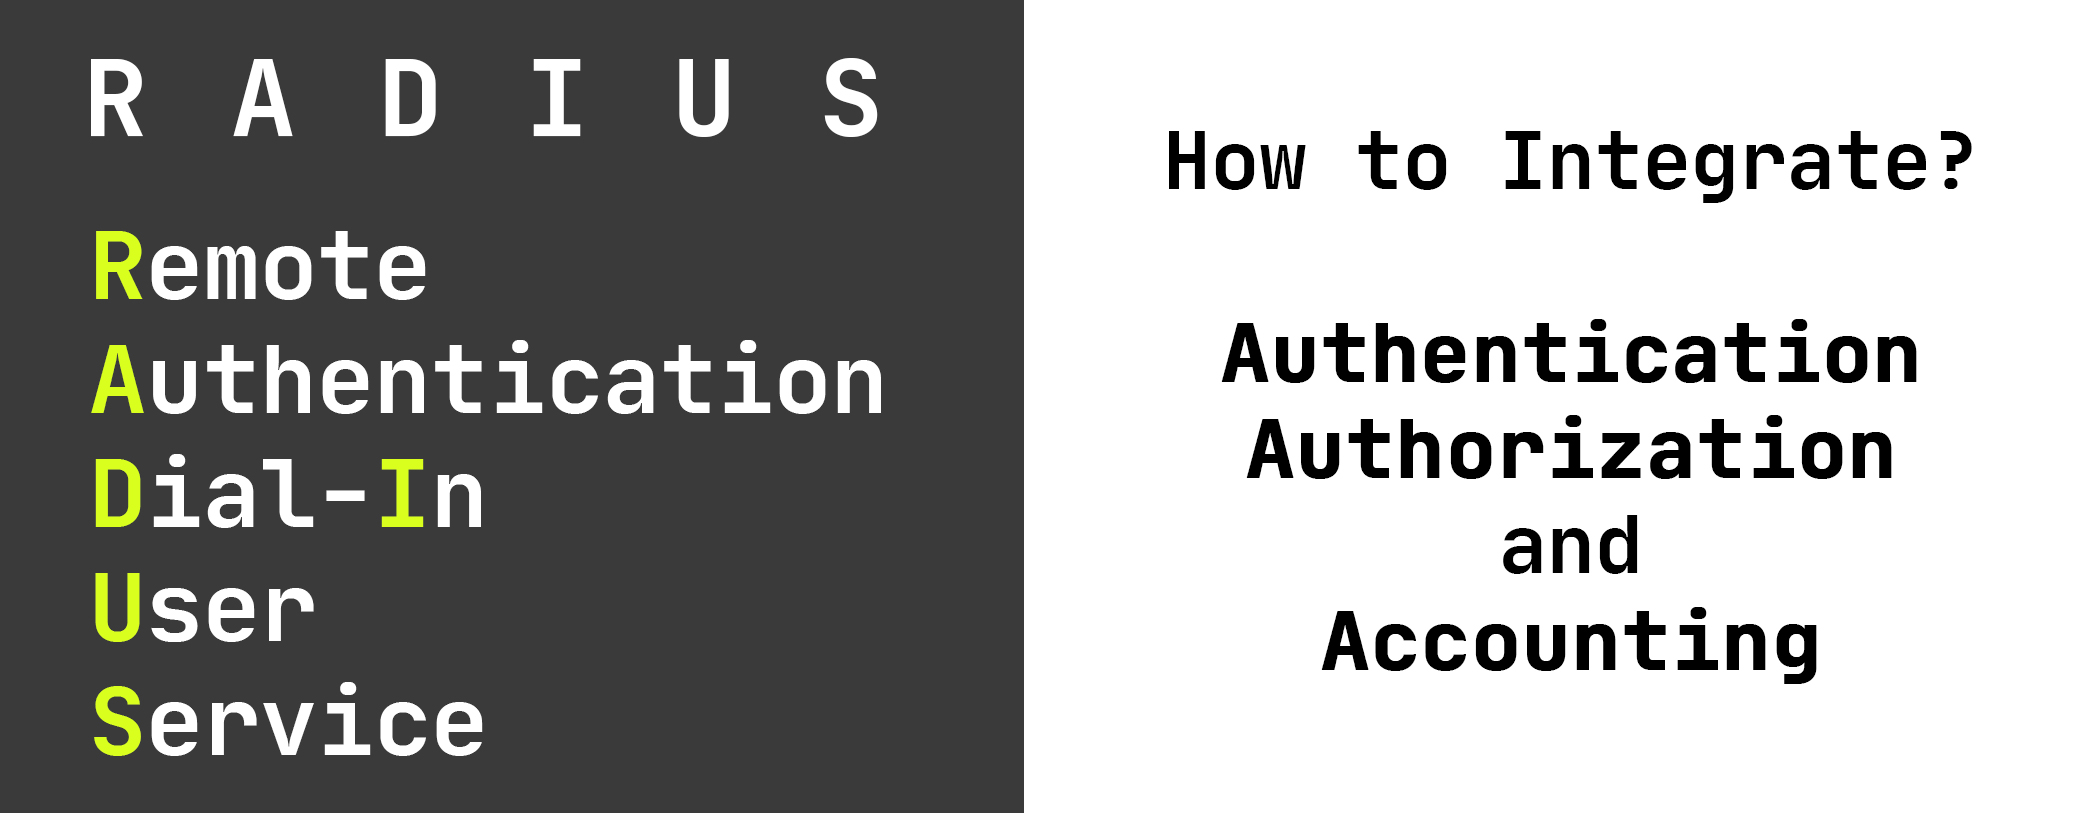
By definition, RADIUS is an application layer protocol that takes its initials from "Remote Authentication Dial-In User Service". It communicates over the network using the UDP protocol, and it uses a server/client architecture. Despite its age, it is still widely used today for VPN, Wi-Fi and network device authentication.
The RADIUS server performs the basic authentication, authorization and accounting transactions received from the user. It simply protects the communication with a "Secret" (a shared secret key). If the secrets do not match, the communication does not continue.
One of the main uses of RADIUS is centralizing login processes across network devices. RADIUS is commonly used to allow login via Active Directory / LDAP servers. RADIUS protocol support makes it possible to manage otherwise difficult-to-manage environments with simple configurations.
Note that RADIUS uses ports 1812 and 1813 (1645 and 1646 on some systems) over the UDP protocol.
RADIUS standard communication messages
The RADIUS server has a mechanism that can be extended using attributes, but this doesn't mean it can be stretched however we want. By simplifying RADIUS, we can examine the messages it uses for request and response.
Access-Request (client)
This is the standard request made by the client to the server. The client requests access from RADIUS. You can think of Access-Request as the packet that carries the login attempt.
Access-Reject (server)
First, let's go over the rejection message. The server sends this message when it wants to reject a request. For example, this message is sent when the username or password is entered incorrectly. Likewise, if the request does not meet the requirements set by the server, the same message will be received.
A Reply-Message can also be added to this communication packet for notification. This message may indicate why the request was denied.
Access-Accept (server)
When all requirements are met, the server returns this message as the answer. Upon receiving this message, the client can accept that everything is correct and proceed with the request. At this point, the person is considered to have entered the requested session information correctly.
Access-Challenge (server)
The server may state that the access request needs another, secondary verification. Alternatively, when needed, the user can be notified via the Access-Challenge with a Reply-Message.
The Access-Challenge message is sent for secondary or multi-factor authentication methods. At this point, the information contained in the Reply-Message is displayed directly to the user.
For example: "Enter the verification code sent to the phone number 5XX XXX XX 45."
Using RADIUS as a two-factor or multi-factor authentication method
RADIUS has many use cases. One of them is that it helps us with secondary or multi-factor authentication. At this stage, the RADIUS server offers a verification mechanism that can be described as active or passive after the primary option (username and password) during authentication.
Let's assume that an SSL VPN device is configured over Active Directory / LDAP. All of our primary session requests are handled first by Active Directory / LDAP. When confirmation comes from this step (the username and password are correct), the option configured as secondary authentication is shown to the user. Of course, we are not talking about an interactive screen here. We are simply talking about a login box where the user can enter the verification code.
The Access-Challenge and Reply-Message that we mentioned in the previous section are enough for this process, but the server should be informed that this is a continuation of the current request. The State attribute is used for this, informing the RADIUS server about an existing process.
Using RADIUS with MFA push notifications
RADIUS does not have an event-driven architecture. Operations such as push notifications or MFA over a phone call require active communication. To give a small example, such an architecture is unfortunately not possible to build using only the existing features of RADIUS.
[CLIENT] -> Username and password are entered. [SERVER] -> Username and password are sent to the server. [SERVER] -> Please tap on the notification on your phone. [CLIENT] -> Wait until the notification is tapped. [SERVER] -> Notification approved / rejected, notify the CLIENT again. [CLIENT] -> I got the answer, the user can log in.
At this point, the server should inform the client that it has received approval. Unfortunately, such a notification is only available in active communication. However, it is possible to work around this using the Timeout value. Some products (Monosign is one of them) can hold the request until an answer arrives, and execute the relevant operations after the response is received. Let's continue this section with an example using Monosign.
Using the RADIUS server in Monosign
Monosign is an Identity and Access Management application with a built-in RADIUS server. We can perform all authentication, authorization, role, multi-step authentication (MFA) and single sign-on operations with Monosign.
We first create an application to authenticate with Monosign via the RADIUS server. We named the application Radius Server at this point.
After creating the application, we need to define an Access Key. Once defined, the system generates two key values produced specifically for the application.

MonoSign-AppId: Key IDMonoSign-AppKey: Key Value
We will use these values in the environment variables of the application we set up for the Monosign RADIUS server.
Our sample environment variables are as follows:
# RANDOM GENERATED SECRET
MONOSIGN_RADIUS_SECRET=beb84da9-dbf5-420b-b86f-e7ed90a50f28
# MONOSIGN API URL
MONOSIGN_RADIUS_API_URL=https://monosign-api.eu.ngrok.io/
# MONOSIGN APPID and APPKEY
MONOSIGN_RADIUS_APPID=19c68120-4ba7-44cf-825d-7b44f4482892
MONOSIGN_RADIUS_APPKEY=91d4b0b1-9385-4079-81cf-da8ee64b9be1
# YOU CAN PROVIDE CUSTOM PORTS IF YOU WANT
MONOSIGN_RADIUS_AUTHENTICATION_PORT=1812
MONOSIGN_RADIUS_ACCOUNTING_PORT=1813
After entering this data, we can now provide our RADIUS server information to any application. For example, let's use these values in Pulse Secure SSL VPN (you can use any application that supports RADIUS here).
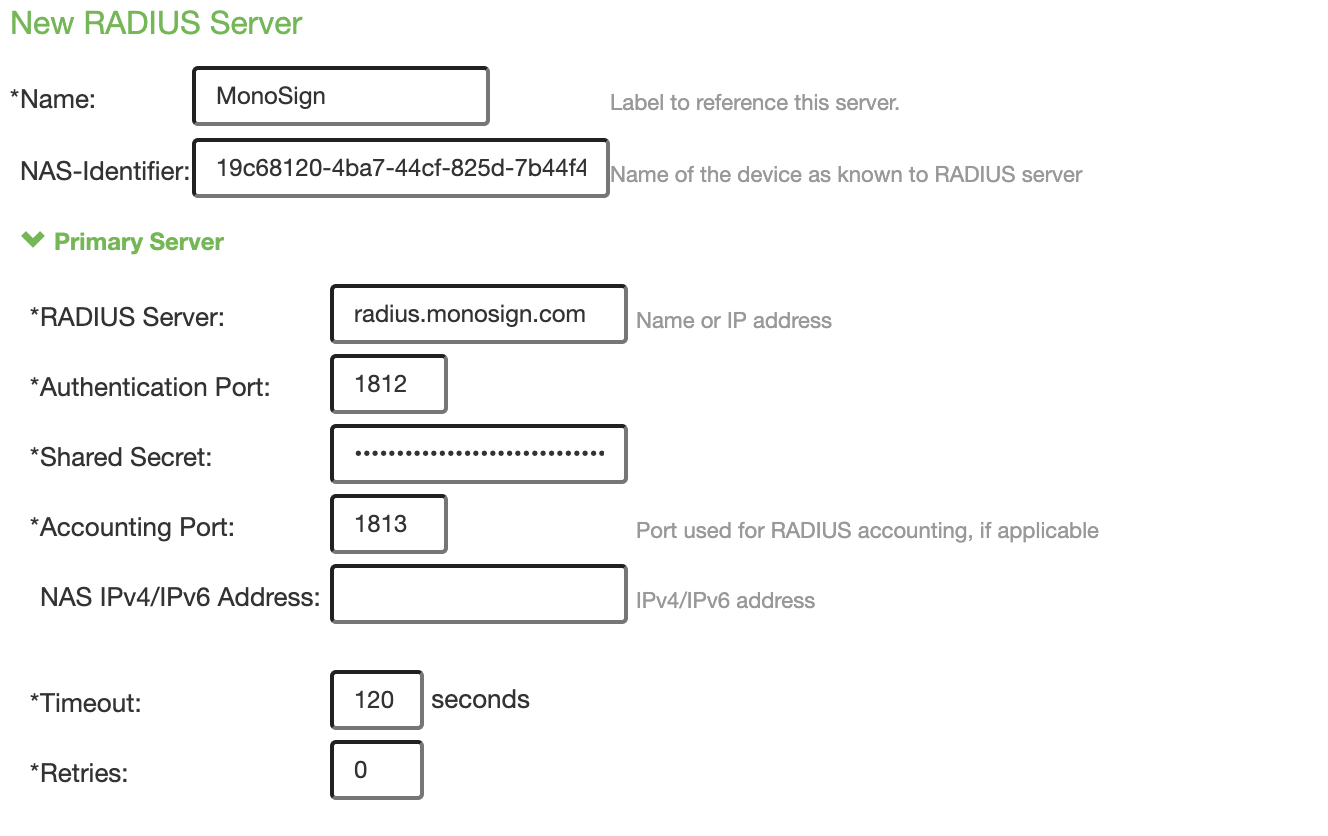
Monosign provides all of the information needed here. At this point, we just need to enter it. Let's do our testing now.
First, I choose my method:
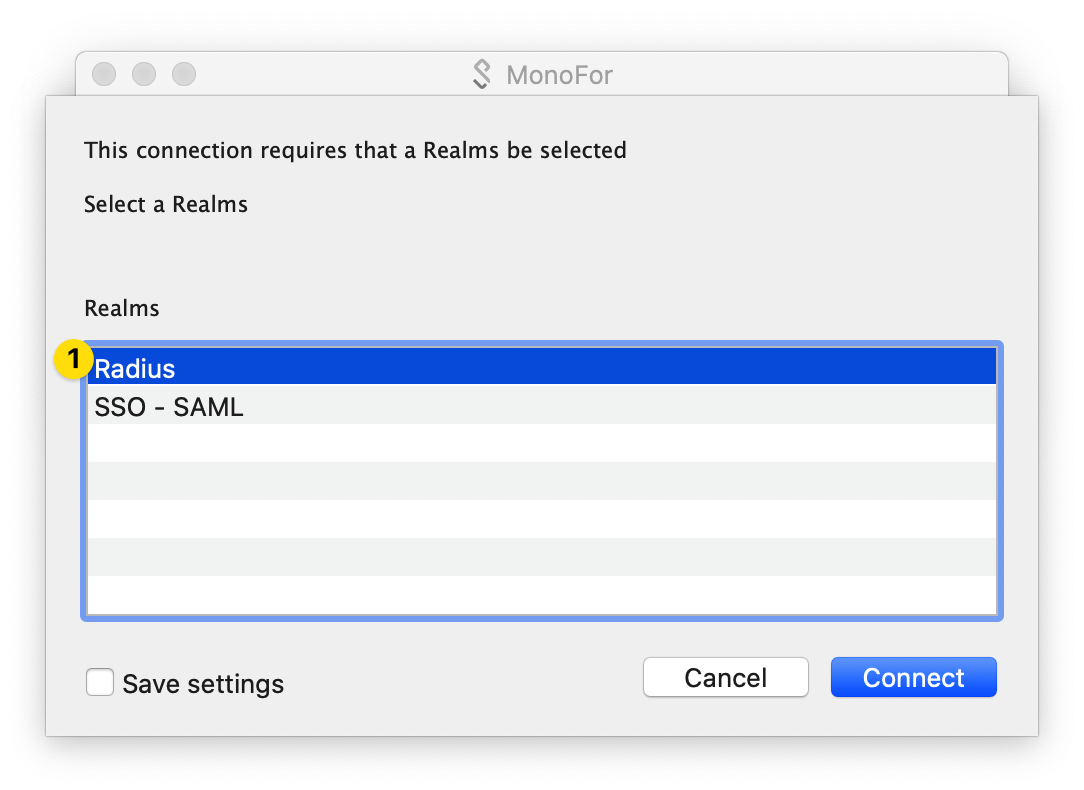
Then I enter the requested information:
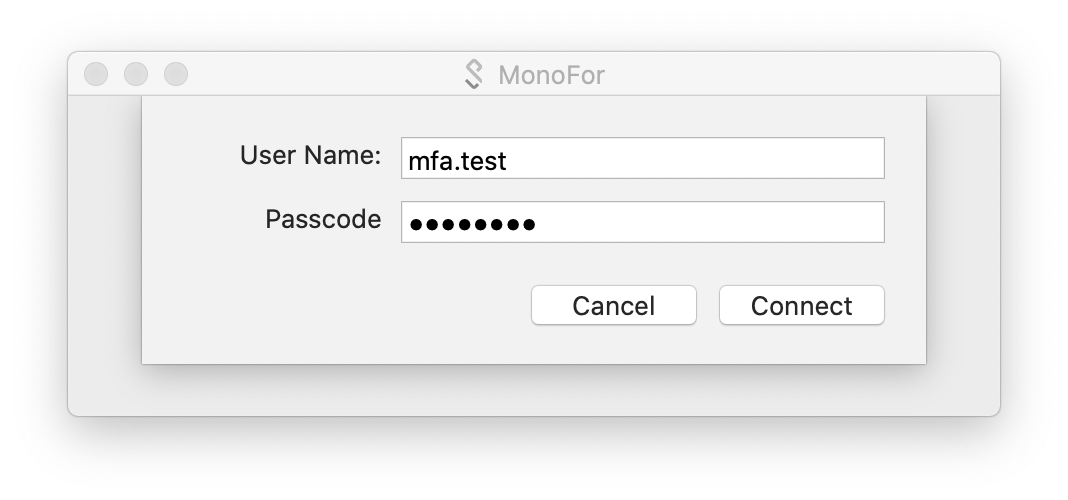
We entered our username and password. The account we use here has an MFA definition, and the method selected is "Google Authenticator". Now let's examine the screen that welcomes us after logging in.
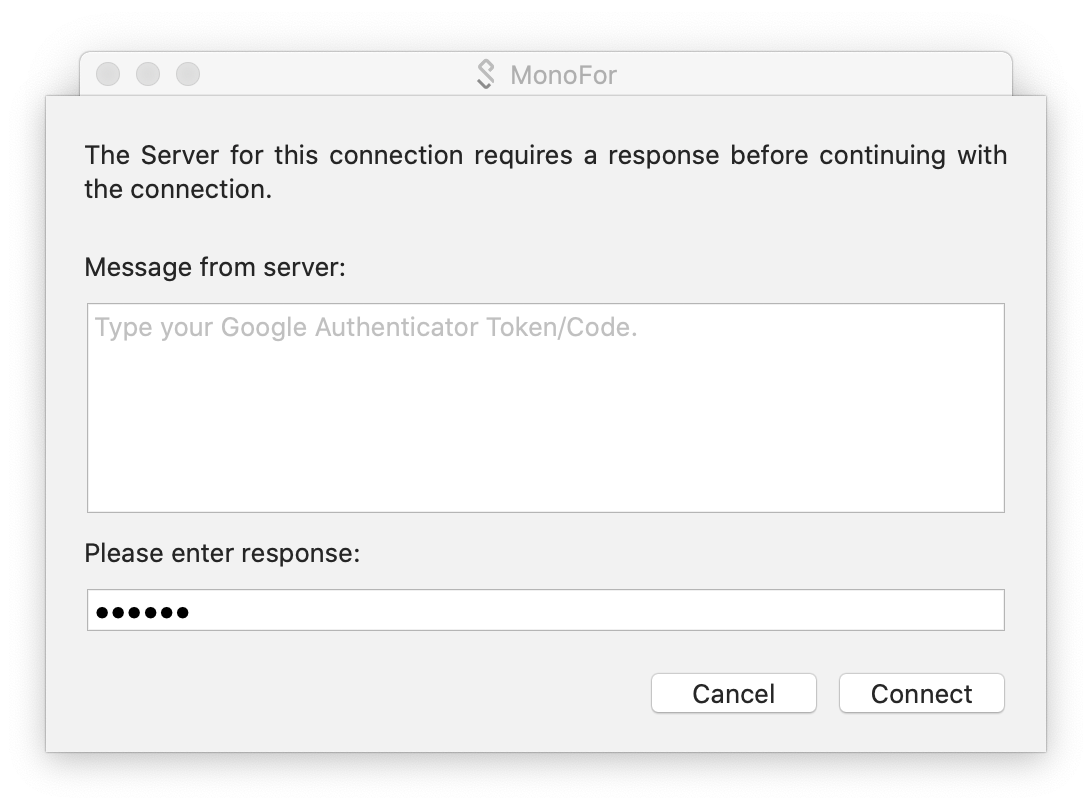
Notice that a box has appeared where we can enter information, with the requested information written above it.
Type your Google Authenticator Token/Code.
If an SMS token were required, it would say so. However, we do not see this screen at all in the push notification flow. The screen keeps us waiting until we confirm the push notification, then it takes us in directly. The same goes for the phone call method.
Monosign also allows you to confirm your login from your smart watch.
How to do it
With Monosign, you can quickly connect to a RADIUS server and manage your entire Identity and Access Management (IAM) process. For more detailed information, you can visit https://monosign.com.